How To Create Foiled Christmas Cards
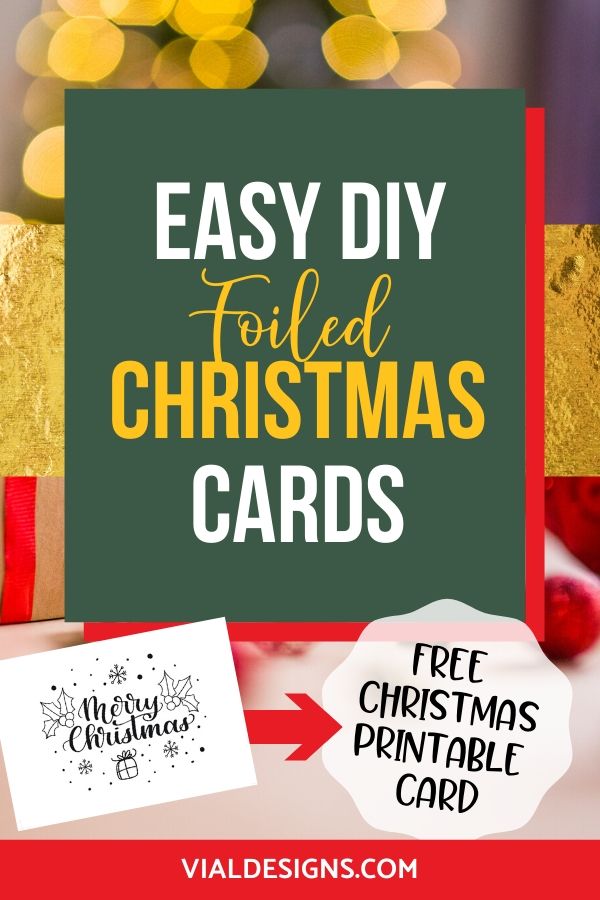
How to create Foiled Christmas Cards! Say Merry Christmas with beautiful and shiny DIY foiled Christmas cards and get my FREE Merry Christmas Printable card available on my resource library!
HOW TO CREATE FOILED CHRISTMAS CARDS
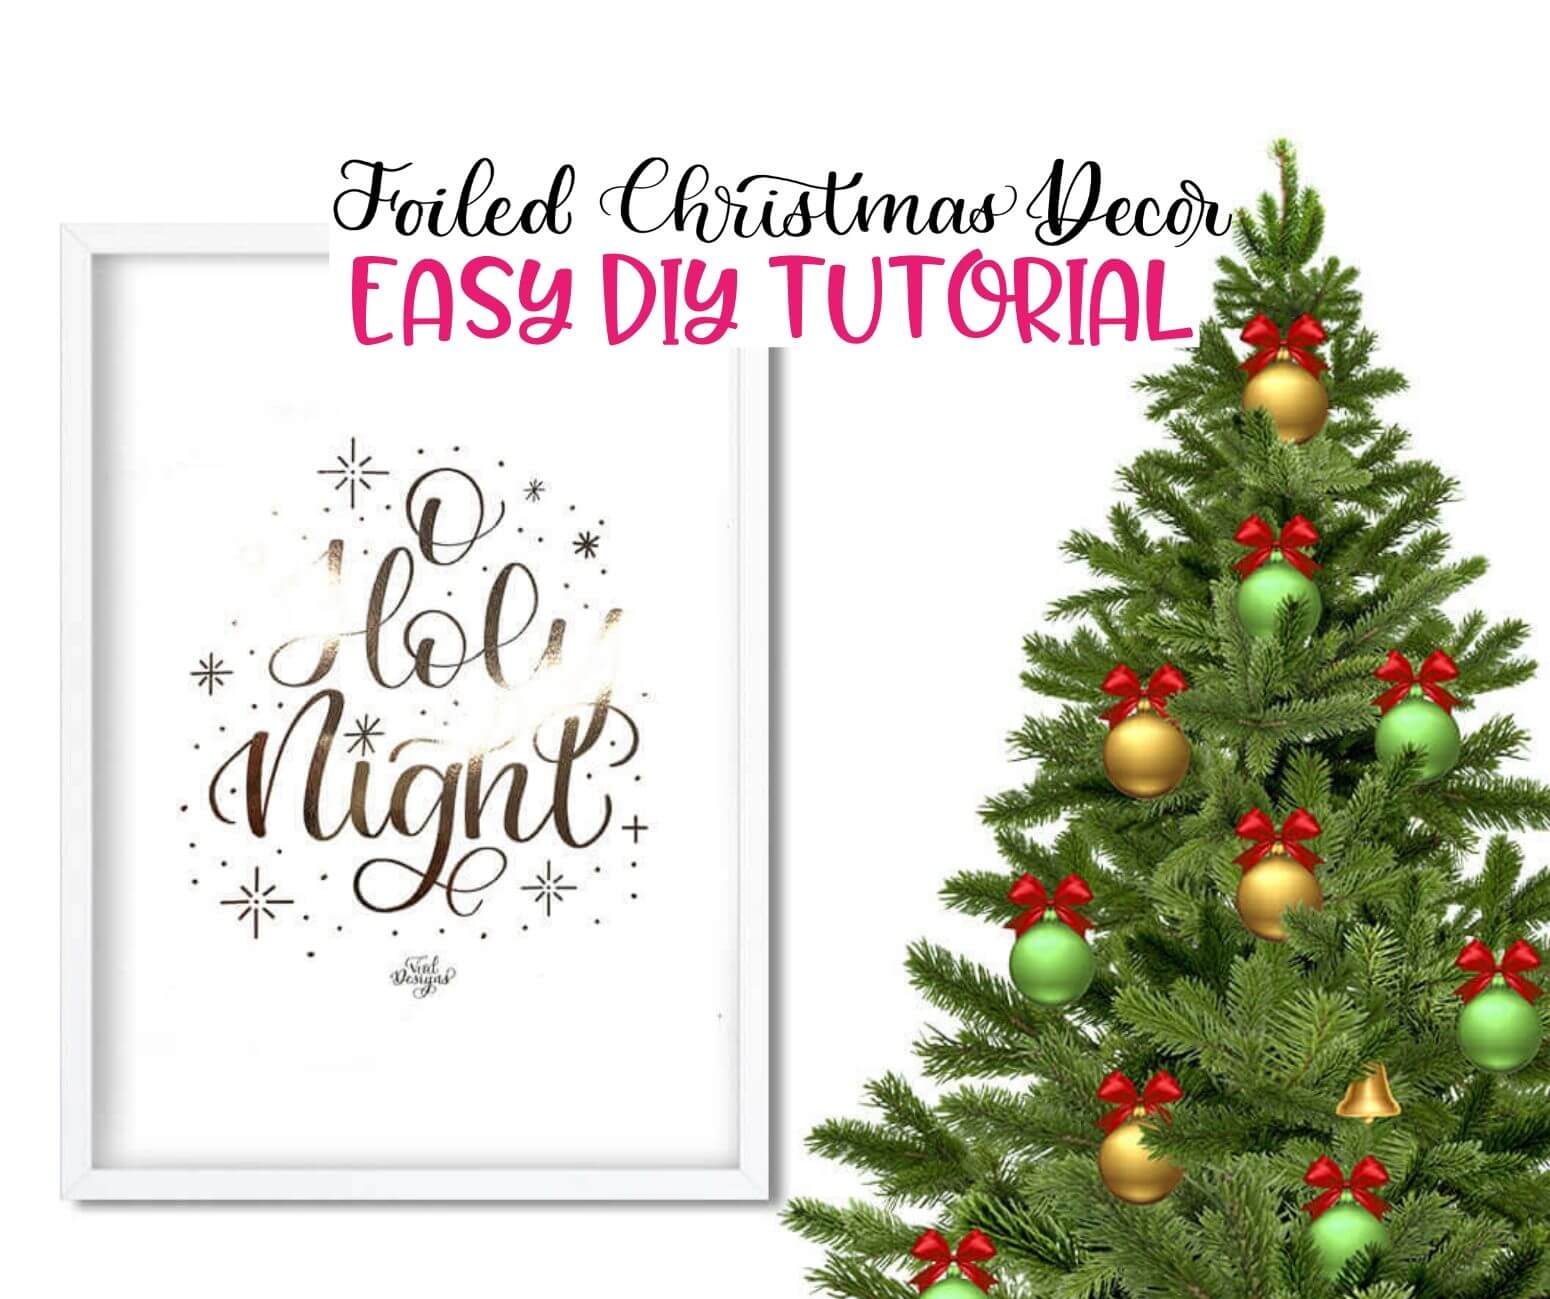
A few days ago I showed you how to create beautiful Foiled Christmas Decor. I hope you love foil as much as I do, because it’s time for yet another foil tutorial, this time for foiled christmas cards!
The FREE Merry Christmas card I’m giving you today was inspired by Holiday Lettering Guide. I received a lot of requests for a guide where you could practice Holiday Phrases so you can create beautiful Christmas decor and cards. So I did just that!
My Holiday Lettering Guide is jam-packed with 25 different holidays quotes to help you practice and get ready for the holidays! You can check the blog post here to see everything related to the guide.
Or go straight here to get it!
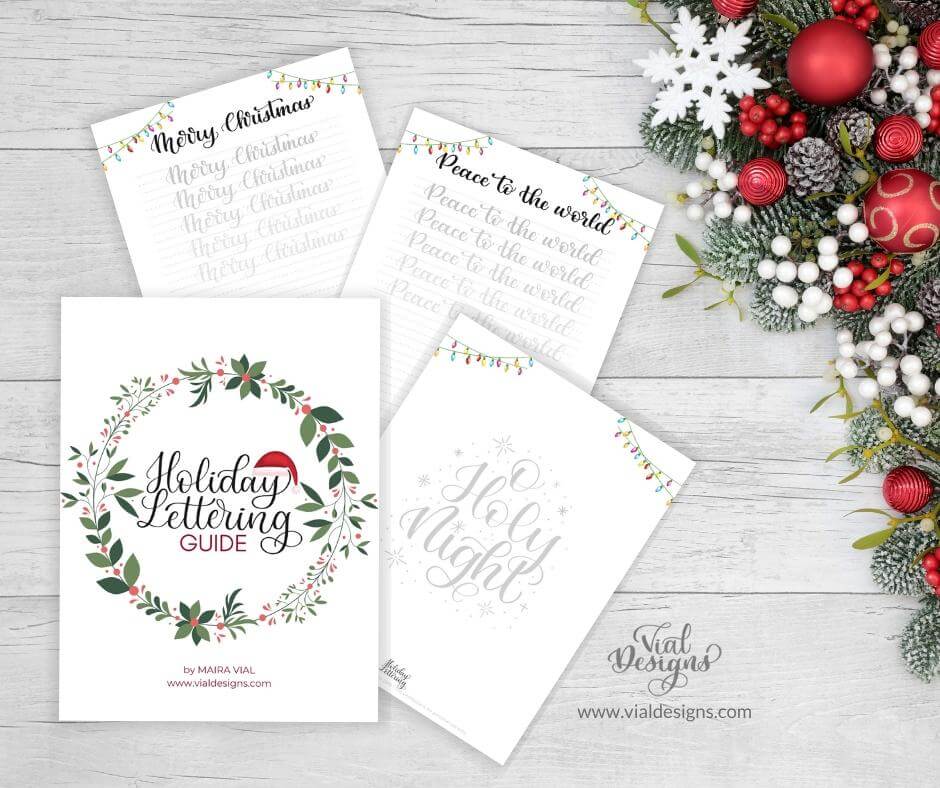
The Merry Christmas design for this printable Christmas card I’m using for this tutorial is also included on the guide as traceable sheet. This means you’ll be able to practice your lettering for this quote and many more!
To get the FREE printable Merry Christmas card I included with this blog post, fill out the form at the end of this blog post.
This foiled Christmas cards tutorial is one of my favorites and I’m excited to share it with you! This post may contain some affiliate links for your convenience (which means if you purchase after clicking a link I will earn a small commission, but it won’t cost you a penny more)! Read my full disclosure policy here.
SUPPLIES YOU’LL NEED
- Cardstock. I’m using white cardstock, but you can use any color you’d like.
- Foil Transfer Sheets. They are also known as Reactive Foil. I’m using Gold from Heidi Swap.
- Minc Foil Application Machine.
- Minc Transfer folder. I got this starter kit, and it came with everything I needed to start foiling.
- Laser printer. You don’t have to buy a laser printer. But you do NEED to get your Christmas art printed using one. You can get your print done anywhere that makes prints and copies. Just make sure they print your art with a laser printer. I bought this laser printer. The printer was on sale when I bought it. And at that time, getting that laser printer was cheaper than to buy ink for my inkjet printer.
- Merry Christmas Printable Card. You can have access to it from my resource library. If you don’t have access to my resource library yet, fill out the form at the bottom of this blog post to get in.
- Scissors
Optional Tools:
The tools below are optional. They do make your life easier when cutting the foil sheet to fit your design. Though not necessary, they are great not only for this tutorial but also for DIY in general.
-
- Cutting Mat
- Ruler
STEP-BY-STEP DIY TUTORIAL – HOW TO FOIL CHRISTMAS CARD
Step 1
Get access to my resource library by filling the form at the end of this blog post.
Once you have access to it, download and print the “Merry Christmas” printable card.
Make sure you print it on a cardstock using a laser printer. I am using white cardstock, but you can use whichever color you prefer.
I make emphasis on using a laser printer because the toner of the laser printer is what makes the foil react and adhere to it when the heat is applied. Sadly, an inkjet printer won’t work for foiling!
STEP 2
Cut to size the Merry Christmas Printable card. This card is intended to be 7 inches wide by 5 inches long (when folded). This is the size of a standard card here in the US. I picked this size as it’s easier to get envelopes for them.
STEP 3
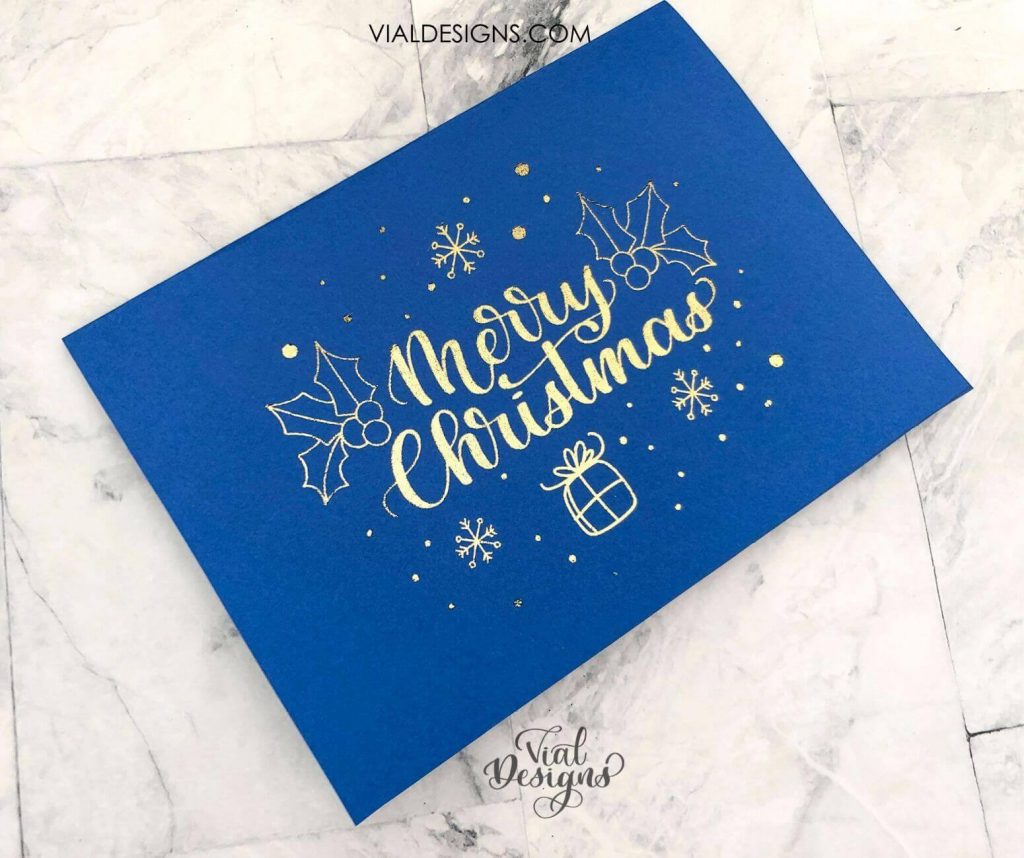
Pick the foil transfer sheet of your choosing and cut it down to match the size of your print. For this tutorial, I’m using a Gold foil transfer sheet.
Check at the bottom of this blog post to see the other cardstock colors and foil transfer sheets I tried!
STEP 4
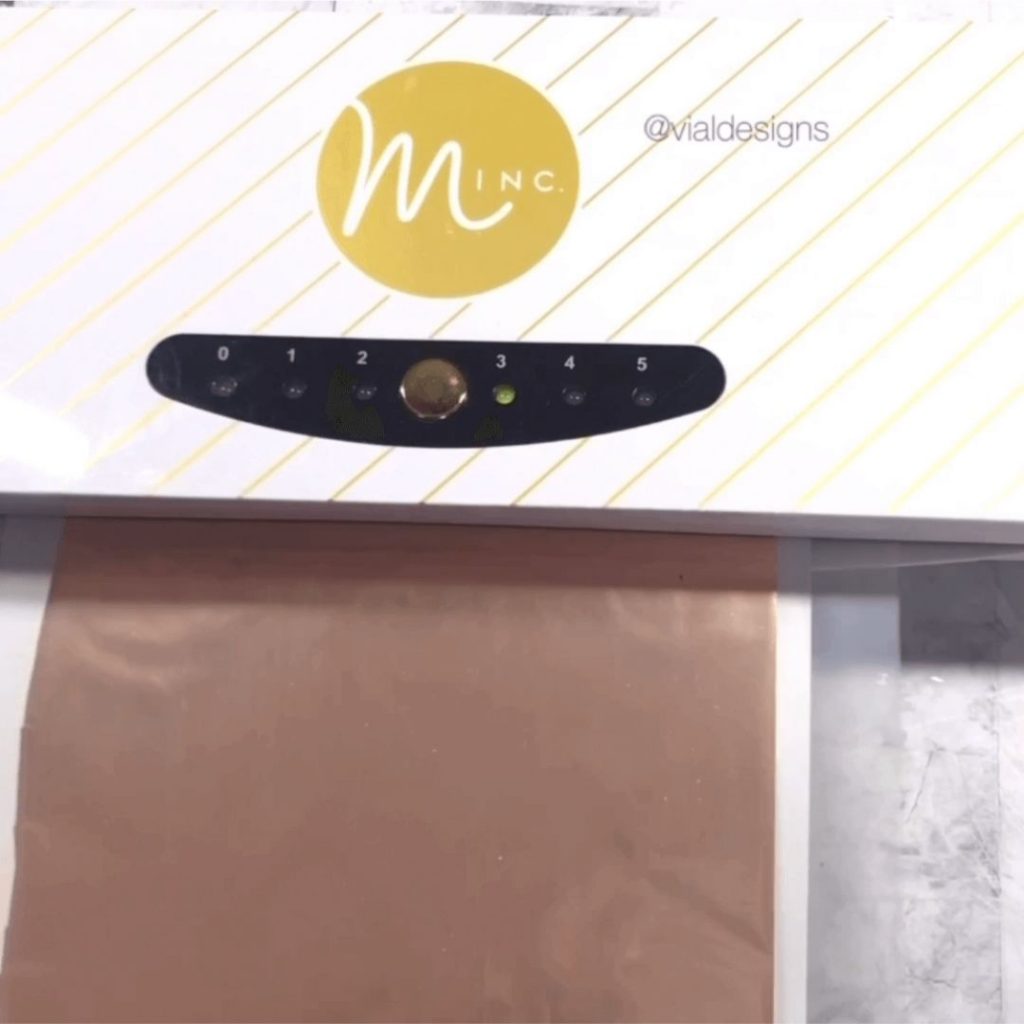
Turn on your Minc Machine and put it on the heat setting of your choosing. You need to wait a few seconds until the red light stops blinking and turns green. The green light is the indicator that the Minc Machine is completely heated and ready to go. The Minc Machine comes with a set of instructions letting you know which setting you should use depending on the type of paper you are using. For cardstock, I use the #3 setting. Depending on how thick your paper or cardstock is, you’d want to adjust the heat settings on your Minc Machine.
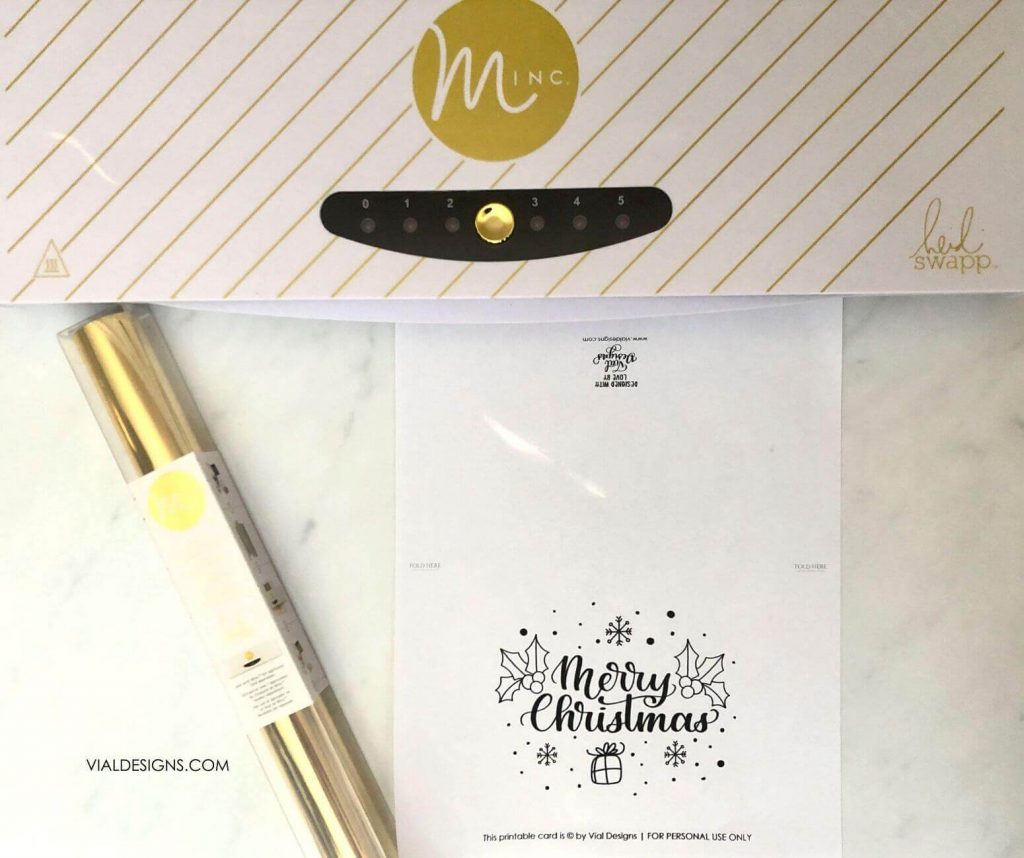
STEP 5
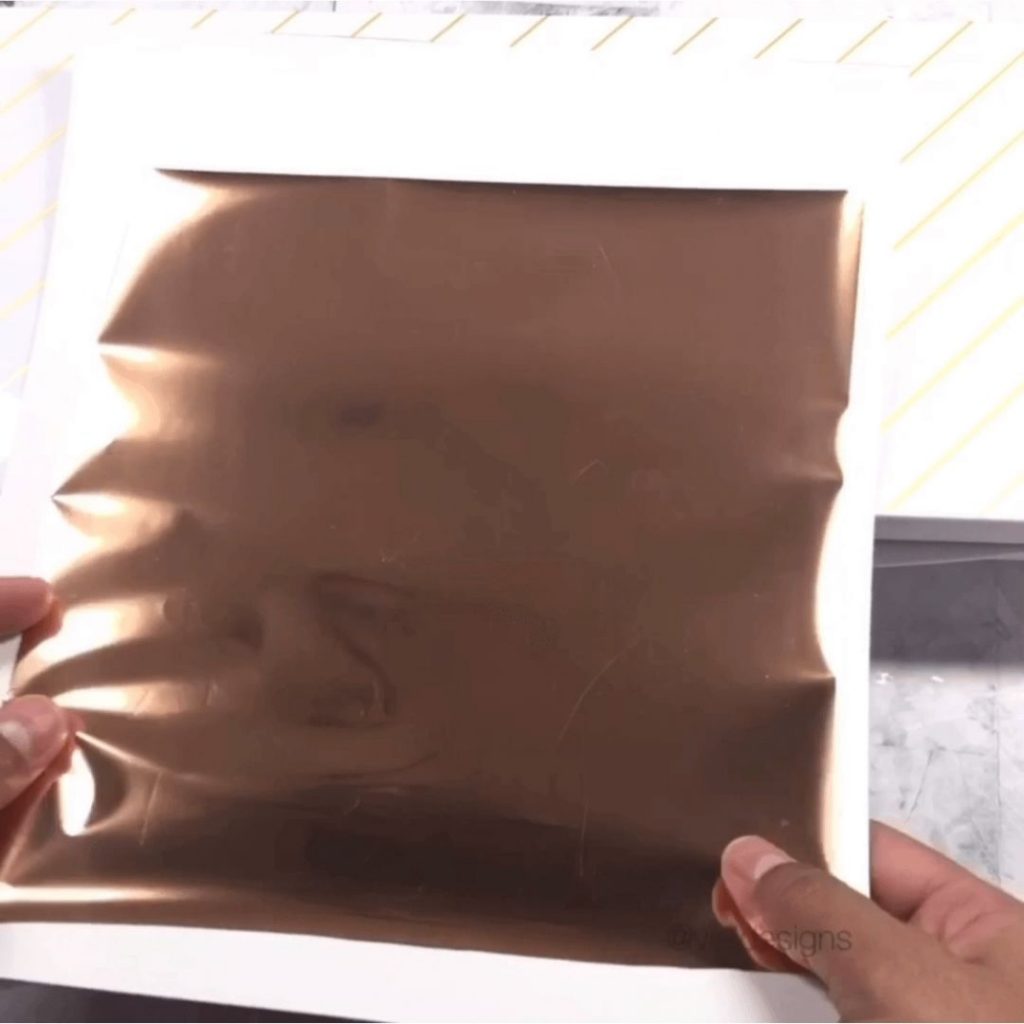
Place your print inside the transfer folder. Make sure the image is facing up, and the foil transfer sheet is completely covering the design with the shiny side up. Then, gently close the top part of the transfer folder over the project making sure the foil sheet is still covering the whole design.
STEP 6
Feed the transfer folder (with your print and foil sheet inside of it, off course!) through the Minc Machine. This process takes about a minute or so. Don’t rush the feeding process.
STEP 7
Once the folder is through the Minc machine, remove the print and the foil from it. Then, slowly peel the foil from the cardstock.
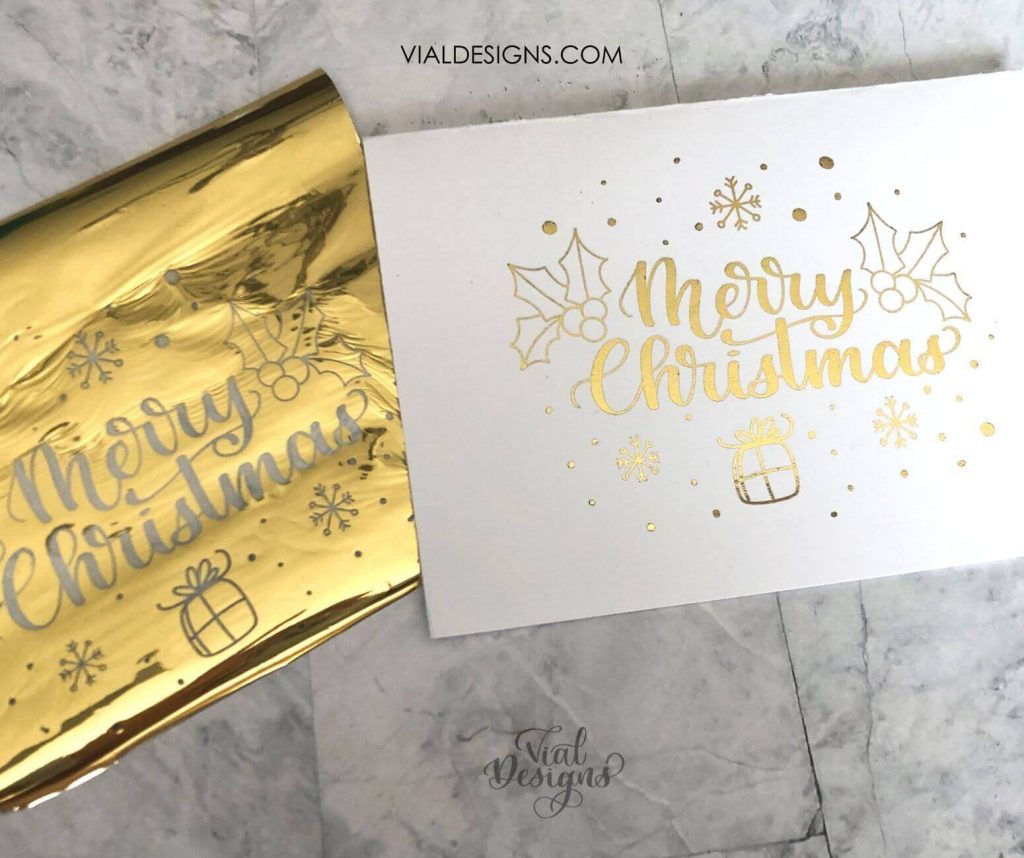
Peeling the foil is my favorite part! It’s so satisfying to watch the foil pare from the print…
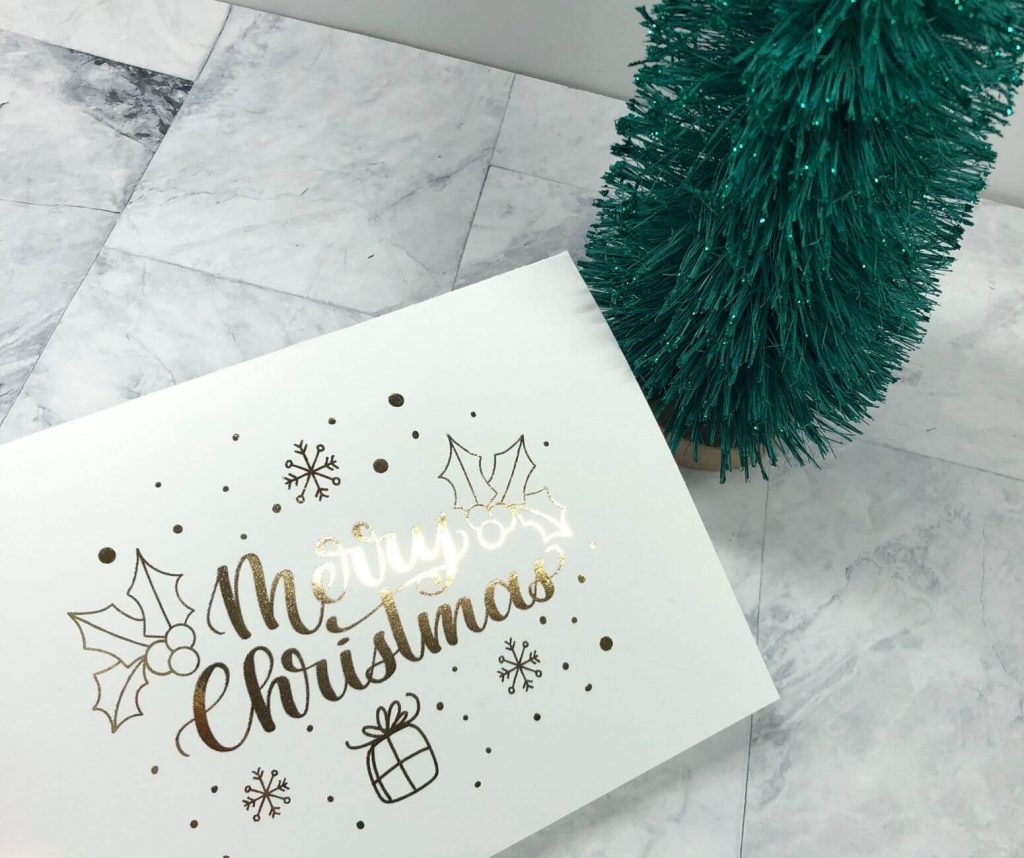
That’s it! Making foiled Christmas cards has never been easier.
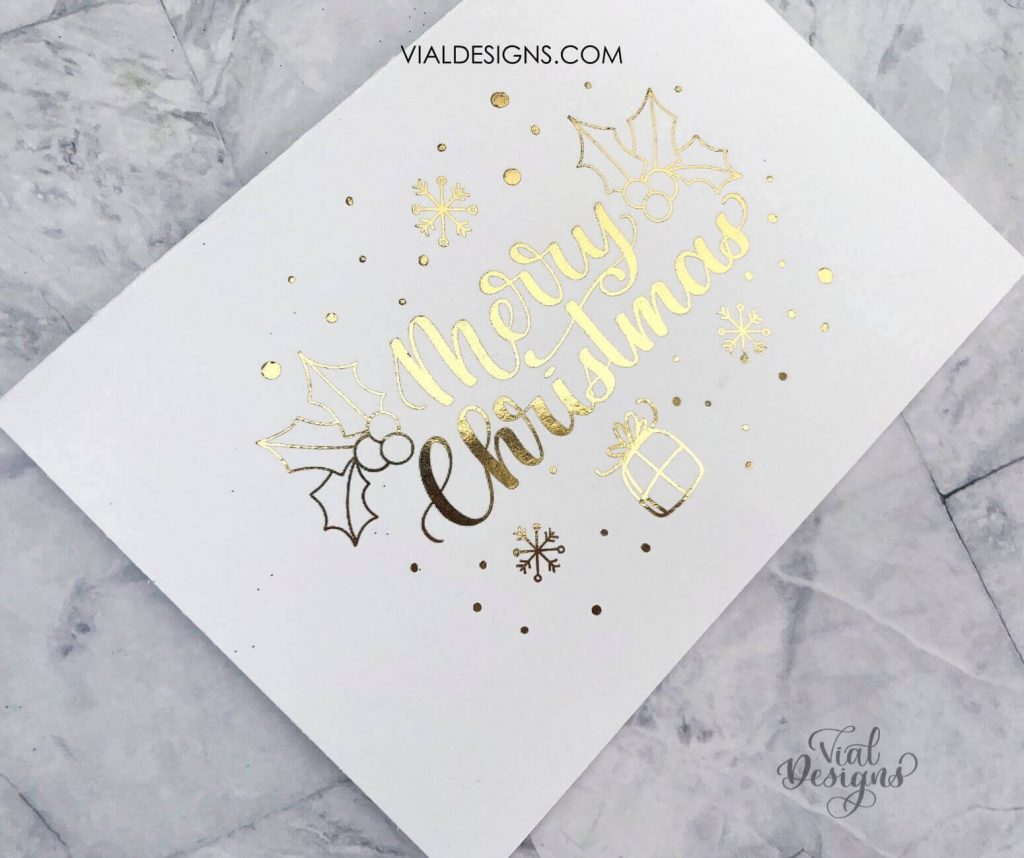
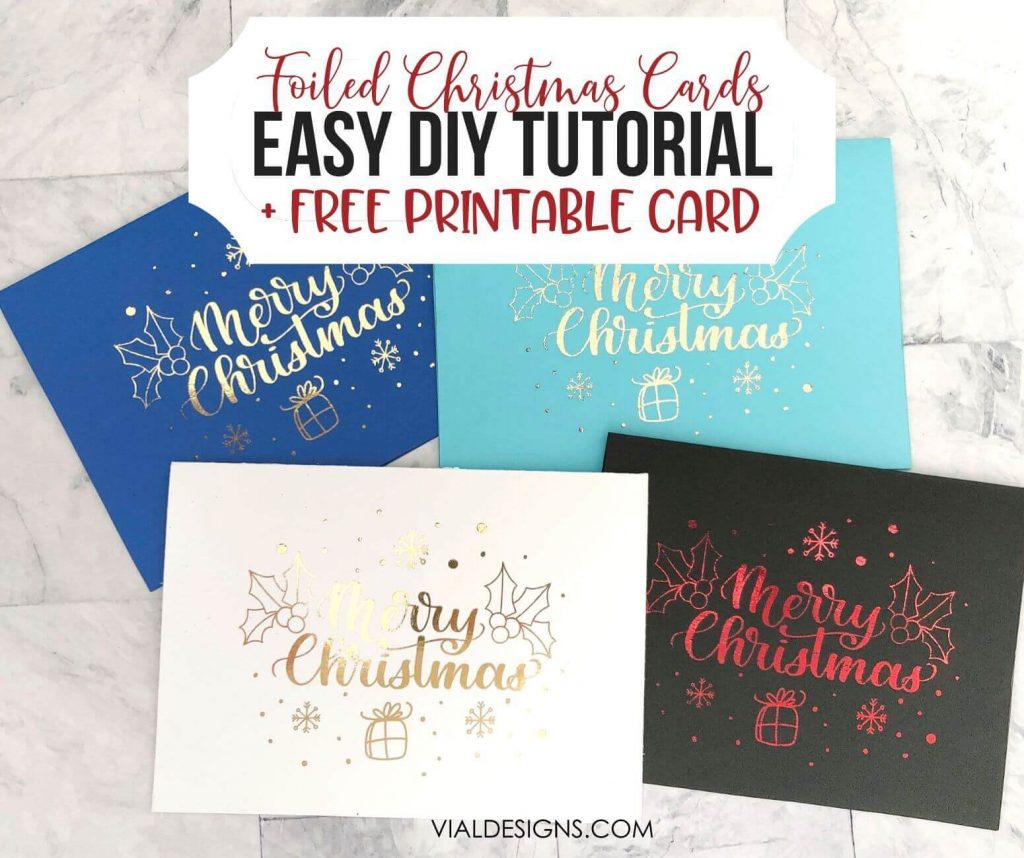
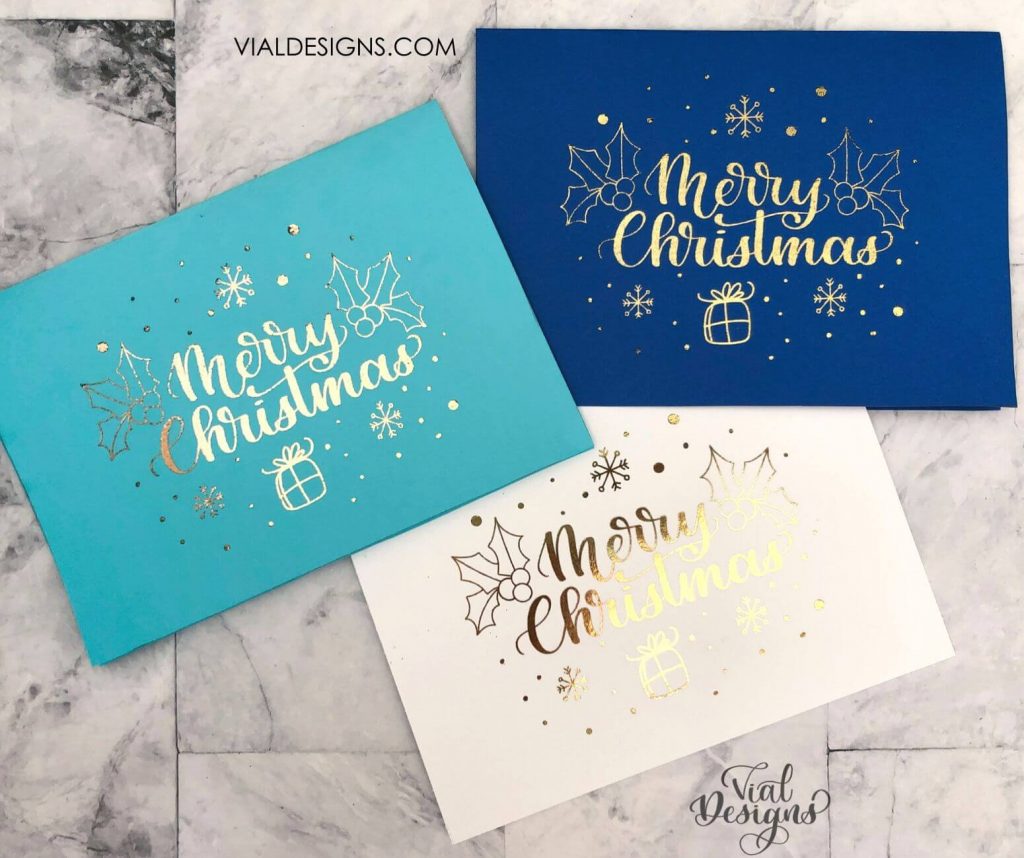
You can play around with different color cardstock and foil sheets.
Here are a few different foiled Christmas cards I made:
I hope you enjoy this tutorial where you learned how to foil Christmas cards!
I love working with foil because of the simplicity of this technique and how the foil adds shine beautifully to the print.
If you’d like to start learning calligraphy so you can create your prints, my Modern Calligraphy Workbook for beginners is perfect for you! It’s a step-by-step guide to help you learn the beautiful art of Modern Calligraphy. Everything you need to know to get started with calligraphy and start making beautiful letters today!
If you create foiled Christmas cards this season and you used this tutorial, please share a photo in my Facebook group or tag me on social media with #vialdesigns_blog or @VialDesigns on Instagram.

WANT TO REMEMBER THIS FOR LATER? SAVE THIS “HOW TO CREATE FOILED CHRISTMAS CARDS” TUTORIAL TO YOUR FAVORITE PINTEREST BOARD!